 I saw this on You Tube (you can learn anything there) and had to give it a try. Although my project didn't turn out as good as I would have liked, I found something to do with the finished piece.
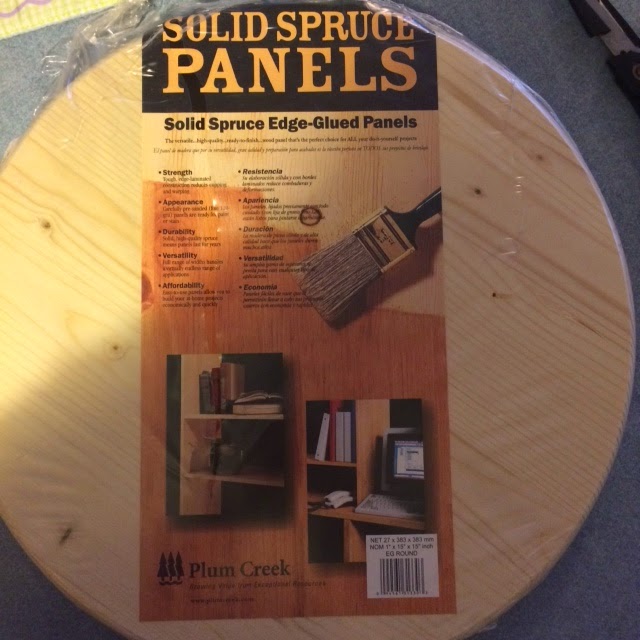
First I found this pre-cut piece of wood at Lowe's. I thought I picked a pretty good piece of wood, but after watching the way the stain sucked in and didn't give me clear lines, I'm not so sure. I'll try a different kind of wood next time.
 After sanding, I put on rubber gloves and used an old t-shirt to dip in the stain and color. I used Minwax stain in Mahogany. I wanted a dark stain for contrast. It went on really easy. The hardest part was thinking in shadows. The darkest part would be the shadows within the petals of the flowers.
Starting at the center I worked outward. The dark stain of the next petal would outline the top of the previous.

I think getting this stain-flower technique down will take practice. I'm also going to check on another type of wood.
I put three coats of Polycrylic on the top to make it weather-proof.
 Not wanting anything to go to waste, I took a plastic flower pot and flipped it upside down to use as a base and screwed the stained-flower wood disc on top. Now I'll use it on the deck for a little table. My daughter thinks I should paint the base brown. What do you think?
Brown? Blue?or leave it green?
No comments:
Post a Comment